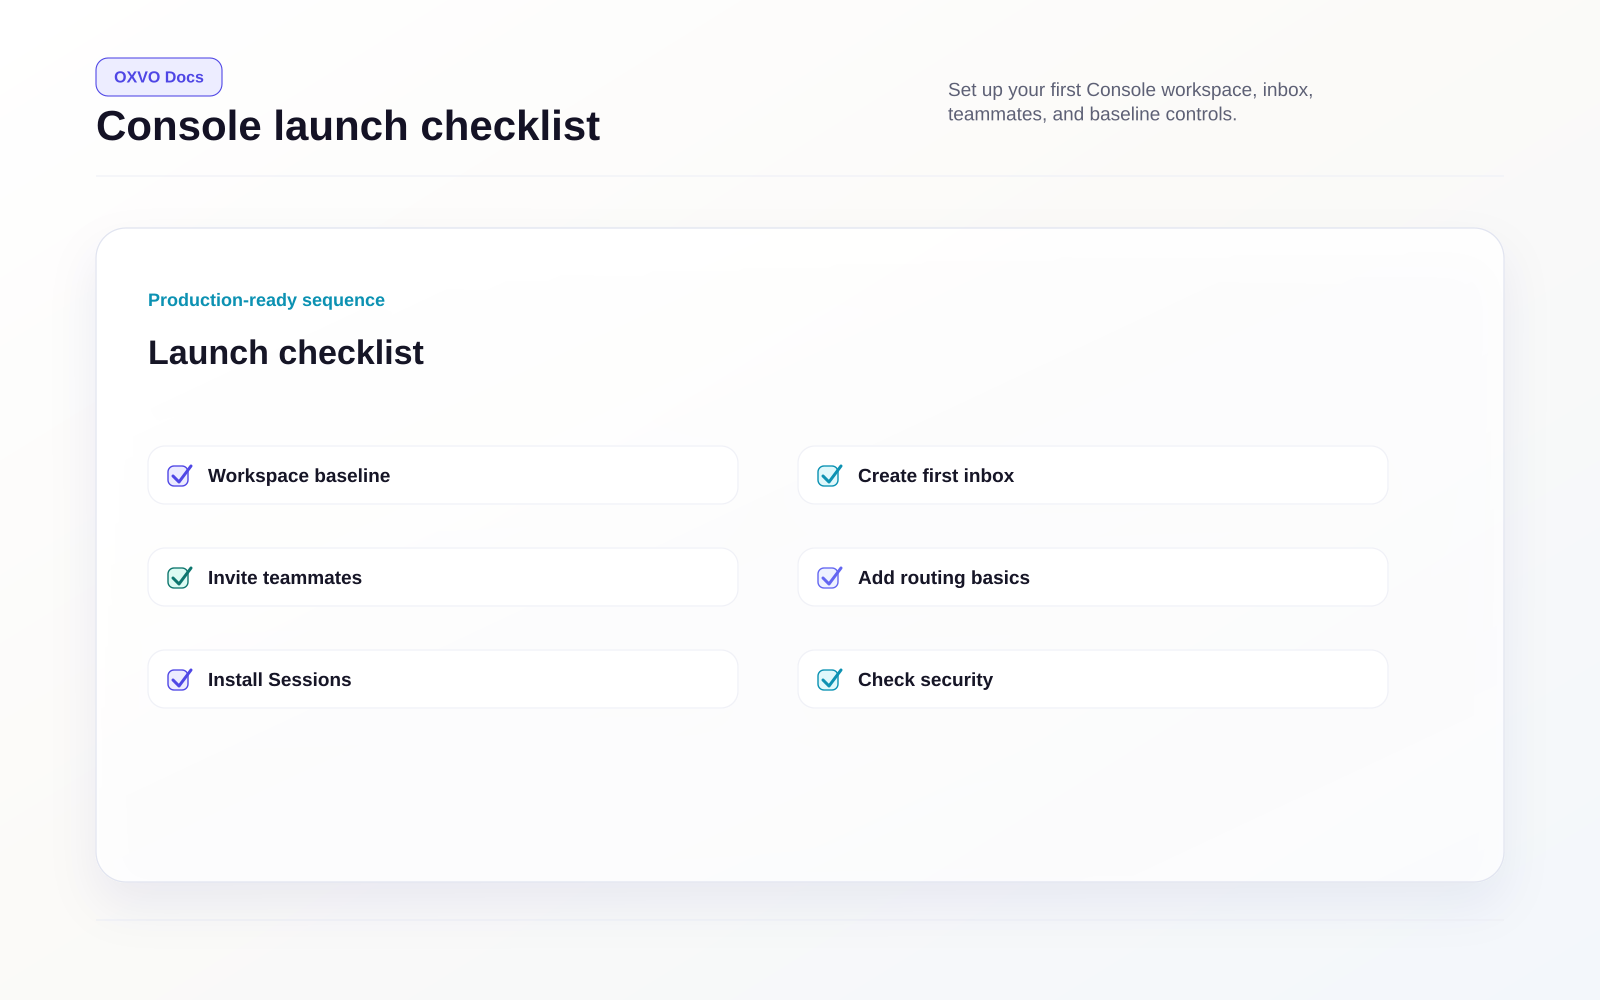
Quickstart: launch OXVO Console
This quickstart is for workspace administrators launching OXVO Console for the first time.
Before you start
- You can sign in as a workspace administrator.
- You have access to at least one customer channel (website, email, social, or API).
- You know who should be assigned as initial agents.
Step 1: Create your workspace baseline
- Open Console → Settings.
- Set workspace name, timezone, and locale defaults.
- Confirm account profile and notification defaults.
Open directly: Open Workspace Settings
Continue: Create your workspace baseline
Step 2: Set up your first Inbox
- Go to Settings → Channels.
- Select Add Inbox.
- Choose one channel type and select Connect.
- Complete channel authentication and save.
- Add at least one agent to the inbox.
Open directly: Open Channels
Continue: Set up your first Inbox
Step 3: Invite teammates and set roles
- Invite admins and agents.
- Create teams for routing.
- If enabled in your plan, define custom roles for least-privilege access.
Open directly: Open Team Management
Continue: Invite teammates and set roles
Step 4: Configure routing and daily workflows
- Add tags and canned replies.
- Create one macro for repeat tasks.
- Add one automation rule for triage.
Continue: Assignment and automation model
Step 5: Install the OXVO Sessions snippet
- Open Session Replay in the Console sidebar.
- Complete capture installation instructions.
- Verify a test session appears.
Open directly: Open Sessions Install Tracker
Continue: Install OXVO Sessions capture
Step 6: Verify session capture and access controls
- Enforce strong authentication settings.
- Enable MFA and configure SSO if available in your workspace.
- Confirm masking and retention settings for Sessions.
Open directly: Open Security Settings
Continue: Authentication and access controls
Tip: Run this quickstart with a test user and a real internal workflow (for example, one support conversation plus one replay investigation) before inviting the full team.